

![]()
I’m just going to put this out there. I am not a fan of the Graph API. I don’t like it.

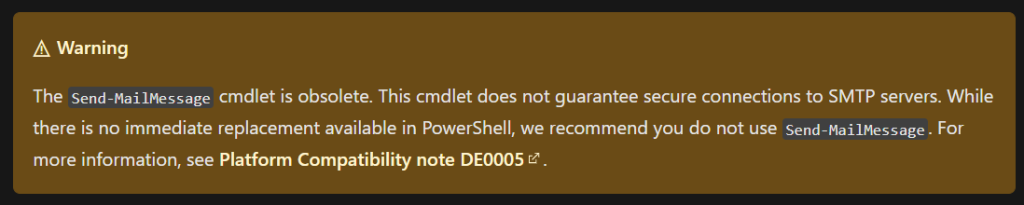
Perhaps it’s because I am still new to it. Maybe with time once I begin to learn the ins and outs of this new tool or framework, I will begin to appreciate it. Anyways, it has taken me so may searches and trials and errors to find and test how to send freakin email with the Graph API using PowerShell 7.1 from Azure. This is probably important to know since Microsoft is deprecating basic auth which includes smtp auth… which is used by the beloved legacy cmdlet known as: Send-MailMessage. Notice the warning:
So now to the bread and butter. How do you send an email message using PowerShell 7.1 to interact with the graph API from Azure runbook? Let me preface this with that I took HEAVY inspiration, if not full inspiration from this site here. So please know I did not figure this out and someone else smarter than me did. I’m just writing about it and adding some other things I would also add to these steps 🙂
As the article mentions, there are 5 steps. The first 2 steps will be necessary to be able to create an Access Token which we will use to interact with the Graph API. The 3rd step will be about permissions needed for using the Graph and being able to send email through it. The 4th step is how to create that Access Token and the final step, is how to use that token send email. Let’s check them out.
1.) Registering a new app in Azure AD.
Go to your Azure Active Directory. Find and select App Registration, then once found click on the New Registration button.

Give it a name. For Supported account types, select the first one that says Accounts in this organizational directory only. In the Redirect URI section, on the left, from the drop-down menu, select Web. For the value, enter http://localhost. Then select Register. Like this:
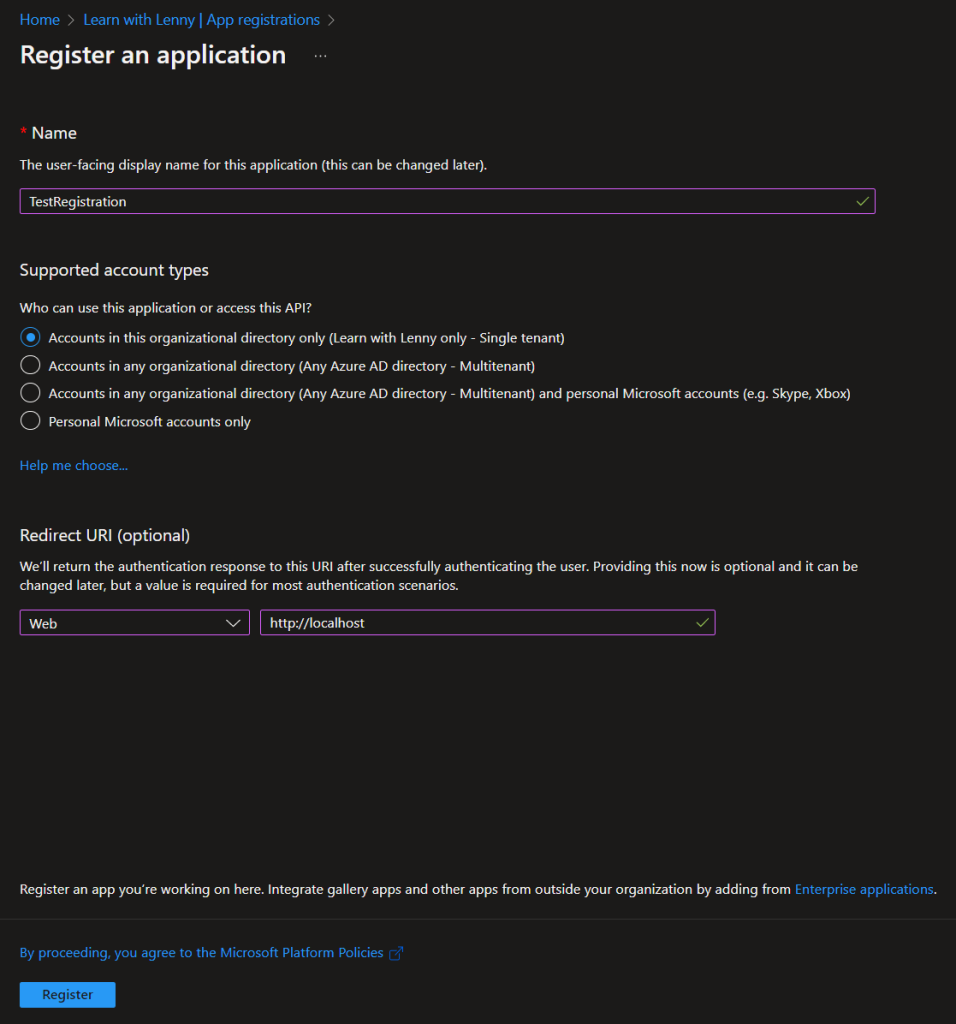
This should take only a couple of seconds. After it is created though, make sure to copy the Application (Client) ID and the Directory (tenant) ID as we will be using these values later on in a script. from a runbook in Azure.
2.) Generating a Client Secret Key.
Let’s go ahead and create a ‘password’ of sorts. This in conjunction with the application ID, will be used to generate an Access Token down the line that we can use. So, in the same app registration process we are in, go to Certificate’s and Secrets section. From there, under Client Secrets, select New Client Secret. Give it a description and select when the key will expire. For this case, I selected 1 year but as Microsoft likes to recommend, you can also select 6 months. After, click on Add.
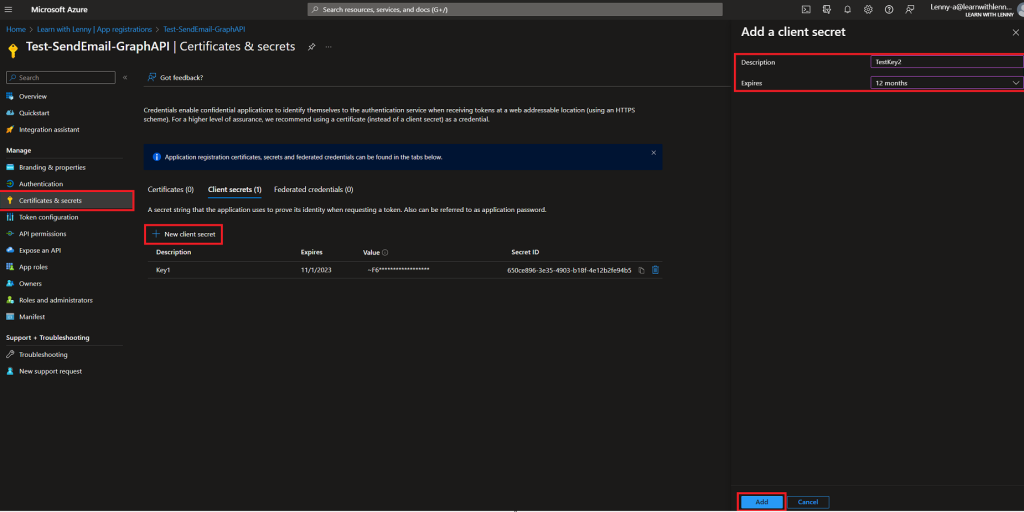
Right after you create the client secret, you will be able to see the value of it temporarily. NOTE: Make sure to copy this value as we will use it for later in the script.
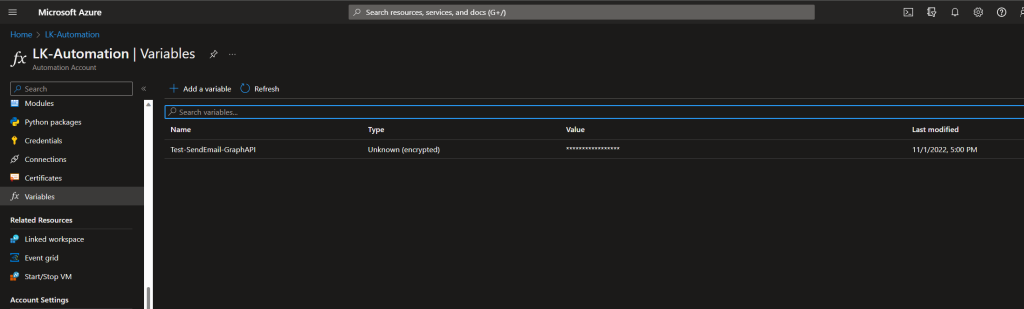
What I actually ended up doing was copying this value, then going to the Automation Account where my runbook lives on and going to the Variables section. I created a new variable and also encrypted it. That way, I always have the key value while encrypted and can always call it using Get-AzAutomationVariable. I prefer this method as if I for some reason loose this secret value, I’d have to create another one. I’d rather not.
3.) Assigning the correct API permissions and granting admin consent.
Now we need to give it the correct permissions so it can properly interact with the graph API, and we also have to give it some authority in the environment. For this, back in the App registration section under your newly created app, let’s go to API Permissions section. From there, select Add a permission. You will see multiple choices, just select Microsoft Graph.
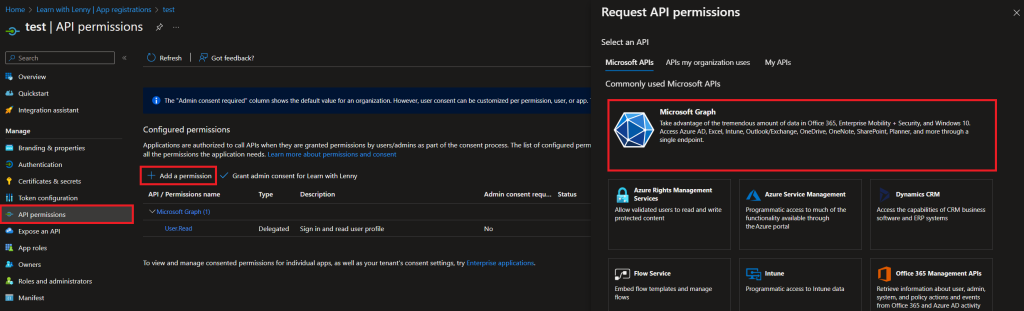
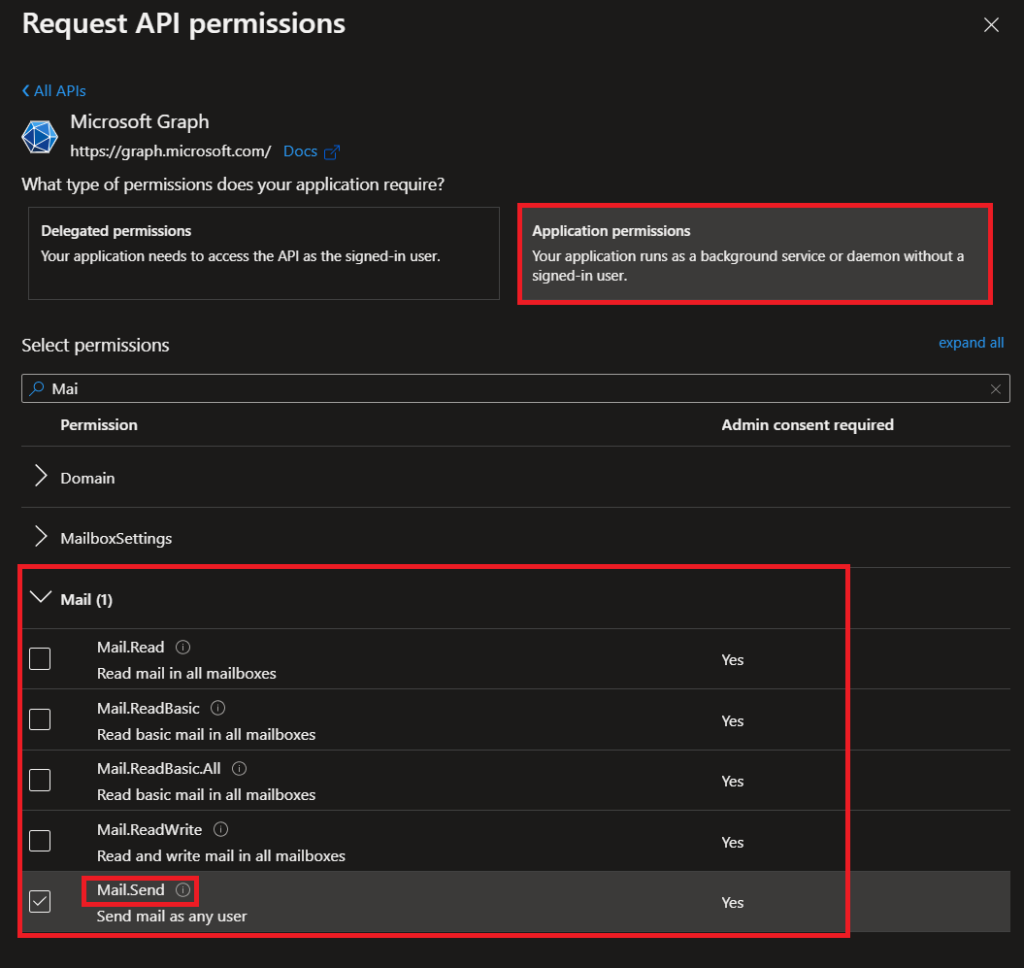
Once selected, select Application permissions in the next step. Then search for ‘Mail’ or just scroll down until you see it. Make sure to expand the permission and select only the sub permission called: Mail.Send.
After you add it, then we have to grant it admin consent. For this next part we need an account that has Global Admin. To grant it consent, click on the Grant Admin consent for xyx button. C’mon guys, it’s literally right there. Click on it and select yes.
4.) Creating the script part 1: Generating the Access Token.
Now, the fun starts.

Remember back in step 1 and 2 we had to get some values? Yeah, this is where we will be using them.
The script is this:
# replace with your application ID
$client_id = 'APPLICATION ID'

# replace with your secret key
$client_secret = 'SECRET KEY'

# replace with your tenant ID
$tenant_id = 'TENANT ID'

# DO NOT CHANGE ANYTHING BELOW THIS LINE
$request = @{
        Method = 'POST'
        URI    = "https://login.microsoftonline.com/$tenant_id/oauth2/v2.0/token"
        body   = @{
            grant_type    = "client_credentials"
            scope         = "https://graph.microsoft.com/.default"
            client_id     = $client_id
            client_secret = $client_secret
        }
    }

# Get the access token
$token = (Invoke-RestMethod @request).access_token

# view the token value
$token
If no other issues occur, this should just work. Some possible issues may occur related to the modules needed. So, check that out too if you run into a problem.
5.) Creating the script part 1: Using the Access Token to send email!
Now that we have everything in place, finally, now, after waiting for so long, and doing this lengthy process, can we finally send email. The article gives us the code snippets we can use and other notes to take into consideration. Here it is:
# Provide the sender and recipient email address
$fromAddress = 'SENDER ADDRESS HERE'
$toAddress = 'RECIPIENT ADDRESS HERE'

# Specify the email subject and the message
$mailSubject = 'This is a test message from Azure via Microsoft Graph API'
$mailMessage = 'This is a test message from Azure via Microsoft Graph API'

# DO NOT CHANGE ANYTHING BELOW THIS LINE
# Build the Microsoft Graph API request
$params = @{
  "URI"         = "https://graph.microsoft.com/v1.0/users/$fromAddress/sendMail"
  "Headers"     = @{
    "Authorization" = ("Bearer {0}" -F $token)
  }
  "Method"      = "POST"
  "ContentType" = 'application/json'
  "Body" = (@{
    "message" = @{
      "subject" = $mailSubject
      "body"    = @{
        "contentType" = 'Text'
        "content"     = $mailMessage
      }
      "toRecipients" = @(
        @{
          "emailAddress" = @{
            "address" = $toAddress
          }
        }
      )
    }
  }) | ConvertTo-JSON -Depth 10
}

# Send the message
Invoke-RestMethod @params -Verbose
An issue I ran into was with the sender email address. I was originally testing this in my Azure tenant, but I had no valid email addresses to use, and I couldn’t use my personal email address I had with the personal Office Home account. I then had to get an Office 365 Business account to test this as my personal plan would not cut it. So, I went through that process as well and set up a test account there that could send email as it had an Exchange Online license. Cool. Another $6 dollars a month gone.
Well ladies and gentlemen. It worked! I had finally found and read an article that actually worked! So, kudos to you June Castillote!
The Azure Environment
Since I want to be able to send an email from Azure using Azure Runbooks, I create a new test Automation Account first, since this is a new Azure tenant. Next, I create runbook using PowerShell runtime version 7.1. In this new Azure tenant, which I got with my Office 365 Business Account; I haven’t touched any modules. So, all modules being used are currently stock. So, then I test this complete script in Azure – both steps 4 and 5 – and get this:
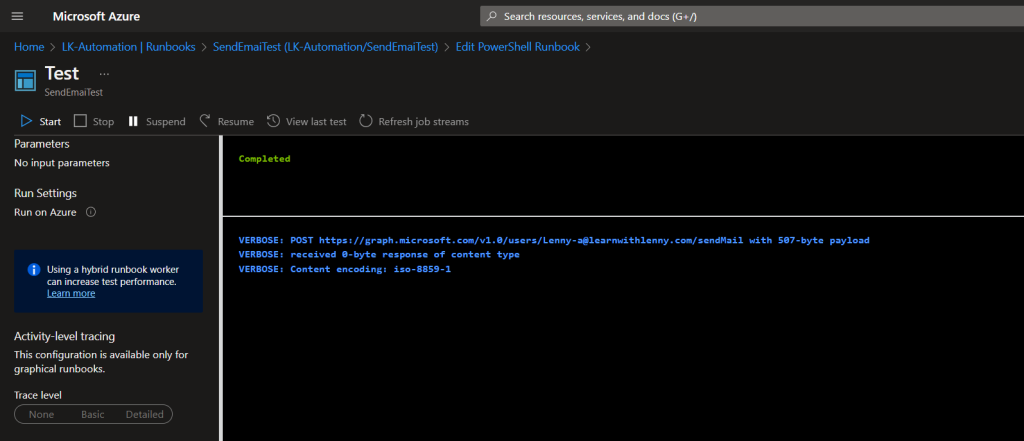
Final confirmation, seconds after it completed:
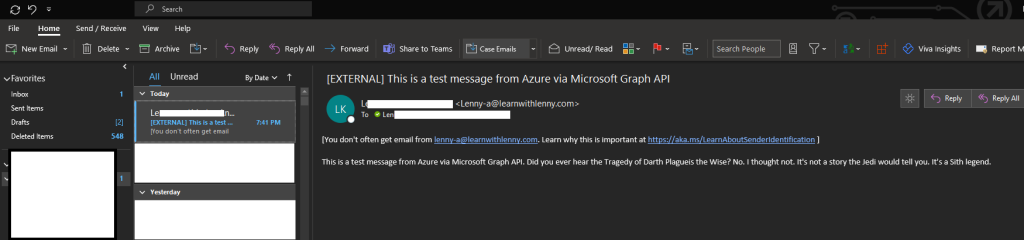
Conclusion: The only reason I am writing this is because I really am excited that I finally was able to send an email using the graph API, and again thanks to that article mentioned here. I am hoping to test this with an attachment next. Especially attachment generated from data in local storage in Azure. How does that work? I don’t know. But we will find out!


No comments! Be the first commenter?