

![]()
Enteprises Applications in Azure. Say you want to take inventory or audit your Enterprise Applications in Azure and have questions like which users are assigned to this application? What if there were groups assigned instead? What if you want to know both users, and the users of the groups assigned to each Enterprise Application in Azure?
Others online had a similar problem as seen here:
powershell export enterprise apps and users\groups assigned – Microsoft Q&A
How to export Users from Azure Enterprise Applications either from Portal/Powershell – Microsoft Q&A
But going through these, I felt it was missing something. These were mostly for users and sure it would also return groups, but how do you map the users in those groups to each enterprise app?
I created a script to do exactly that. Essentially, the script gathers all users per enterprise app and all groups and their users per enterprise app and outputs it in 1 file.
Environment tested in: I developed the script locally but ran and tested in Azure Cloud Shell.
Modules used in Azure Cloud Shell: AzureAD.Standard.Preview v0.0.0.10
Notes: I ran this using my account which has privileges to read enterprise application data. Also, I believe AzureAD module is out of support, but I’ll be damned if I still can’t use it. Such a great module. I did first attempt to do this using Az modules but could not get the results I wanted. I will attempt again but this using the graph-based modules.
Script itself – Feel free to copy and paste into Cloud Shell but see below for step-by-step instructions:
### Enterprise Application User Tracker
### DESCRIPTION \\Retrieves all users and groups and their users for each enterprise application registered with the tenant.
### Modules used: AzureAD.Standard.Preview v0.0.0.10 in azure cloud shell. Developed with Azure AD locally. Created by L.K.
### Authentication process first.
Connect-AzureAD
### Return all enterprise applications where for each application return all assignments to the application, specifically return type users. Select 2 fields only.
### Then store values of each user in objects: MemeberName and EnterpriseApplicationName.
$UsersOnly = Get-AzureADServicePrincipal -All $true | % {
$UserData = Get-AzureADServiceAppRoleAssignment -ObjectId ($_.ObjectId) | ? {$_.PrincipalType -eq "User" }
$UserData | % {
[PSCustomObject]@{
USER = $_.PrincipalDisplayName
ENTERPRISE_APPLICATION_NAME = $_.ResourceDisplayName
}
}
}
### Return all enterprise applications where for each application return assignment type of Group.
$AppRoleAssignments = Get-AzureADServicePrincipal -All $true | % {
Get-AzureADServiceAppRoleAssignment -ObjectId ($_.ObjectId) | ? {$_.PrincipalType -eq "Group" }
}
### Loop through each group and map users to their groups and enterprise applications.
$MappedUsersToGroups = foreach ($assignment in $AppRoleAssignments) {
$Group = Get-AzureADGroup -ObjectId $assignment.PrincipalId
$GroupUsers = Get-AzureADGroupMember -ObjectId $Group.ObjectId | ? {$_.ObjectType -eq "User"}
### Output custom object with Group information, its members, and enterprise application
$GroupUsers | % {
[PSCustomObject]@{
ENTERPRISE_APPLICATION_NAME = (Get-AzureADServicePrincipal -ObjectId $assignment.ResourceId).DisplayName
ENTEPRISE_APPLICATION_ID = $assignment.ResourceId
USER = $_.DisplayName
GROUP_NAME = $Group.DisplayName
GROUP_ID = $Group.ObjectId
USERID = $_.ObjectId
}
}
}
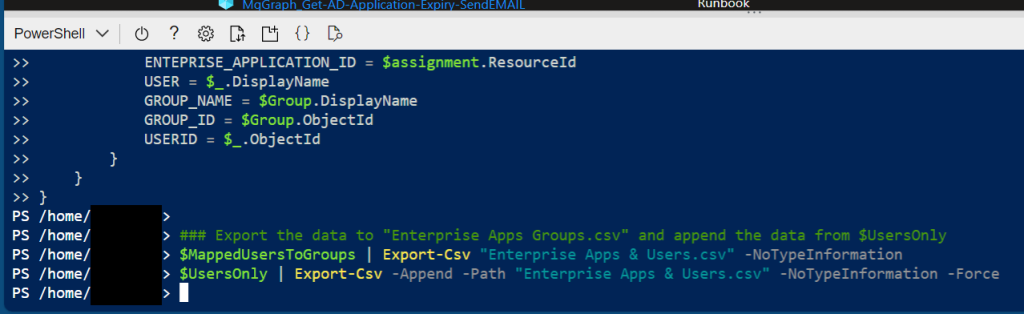
### Export the data to "Enterprise Apps Groups.csv" and append the data from $UsersOnly
$MappedUsersToGroups | Export-Csv "Enterprise Apps & Users.csv" -NoTypeInformation
$UsersOnly | Export-Csv -Append -Path "Enterprise Apps & Users.csv" -NoTypeInformation -Force
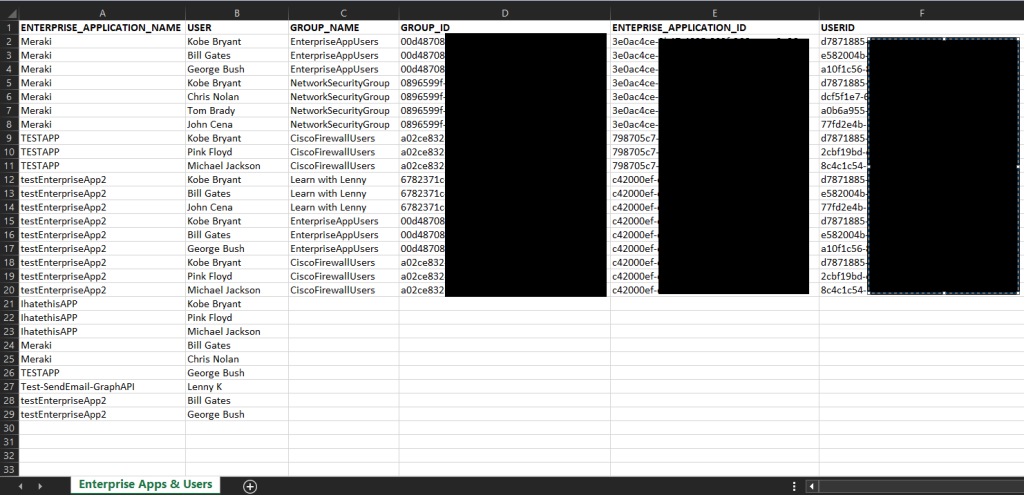
You should get data similar to this:
How to run this script in Azure:
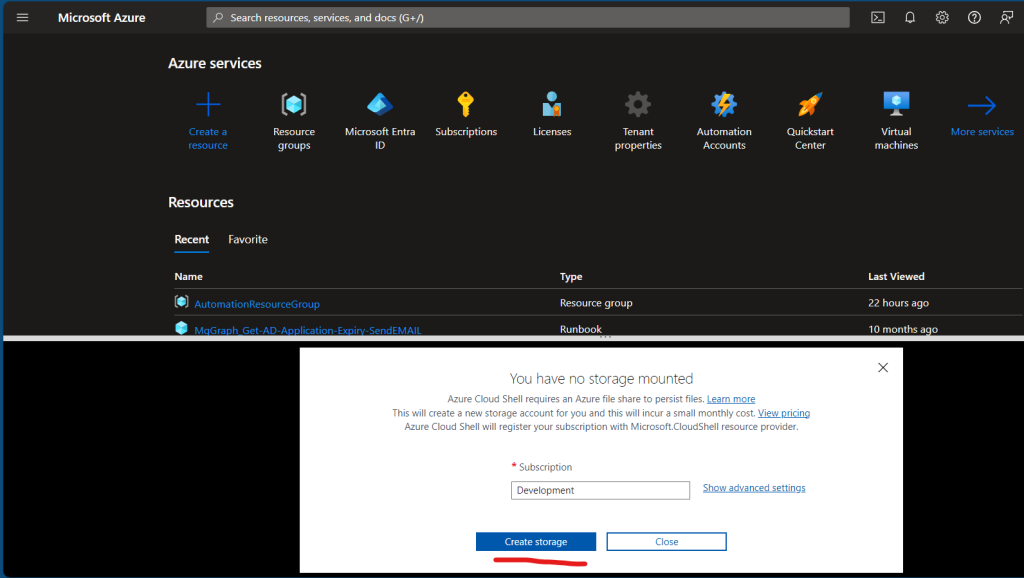
1.) Go to your Azure Portal and at the top right corner open the cloud shell. If this is your first time opening this, it will ask you if you want to create a storage account for the shell. Get approval or whatever you need to do, to do so and select yes.

Why do you need to create storage account to use Azure Cloud Shell? See here: Persist files in Azure Cloud Shell | Microsoft Learn
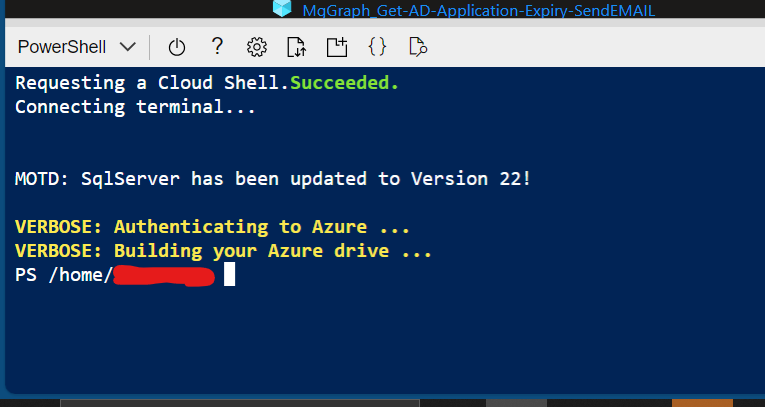
2.) After waiting a few minutes for Azure to get the environment ready, copy the script, right click in the web browser based terminal, and hit enter. Alternatively, you could also copy the script, create a local ps1 file, upload to the storage account and then run that file too. Anyways, you should see something like this:
Copy script:
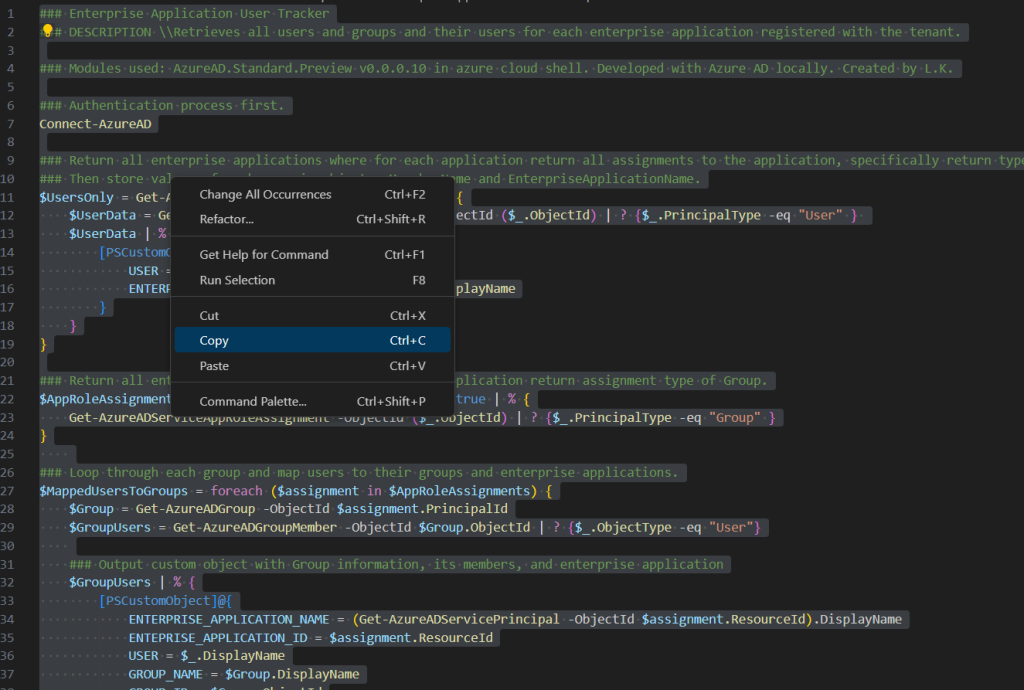
Right click and paste code in browser based terminal:

It will begin to run immediately after pasting. Depending on how many users, groups and enterprise applications you have will determine how long the script has to run. When it finishes running, you will see this in the terminal:
3.) Download the file locally from Azure.
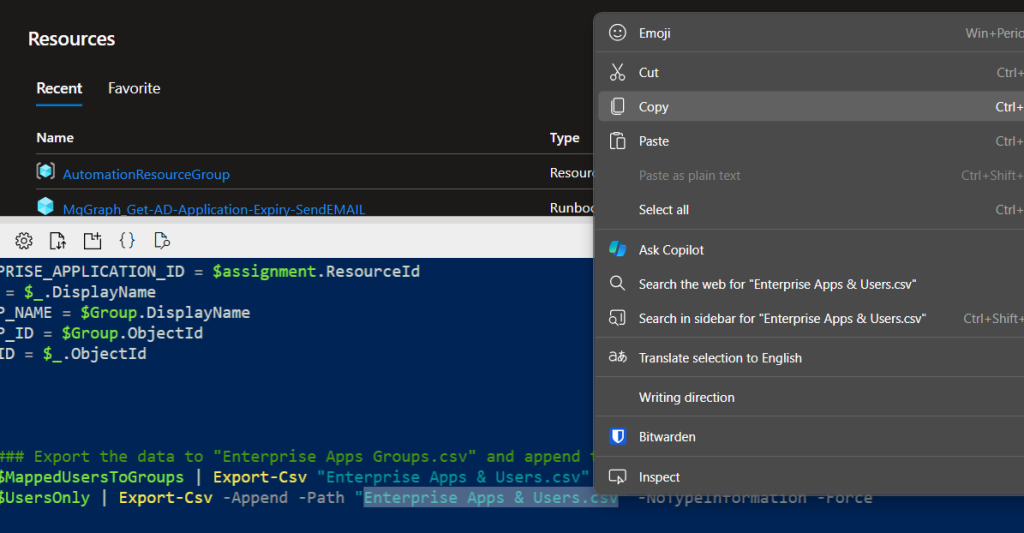
First copy the name of the file which in this case can be copied from the terminal “Enterprise Apps & Users.csv”. Copy the value within the quotes, not the quotes.
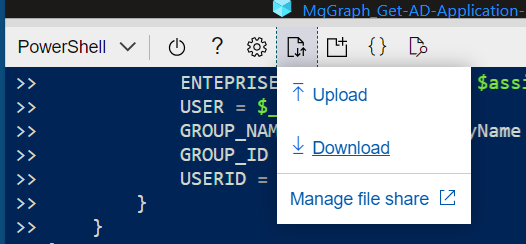
After you copy the name, click on the File Transfer option within the cloud shell:
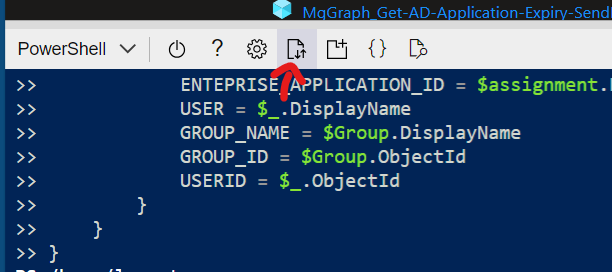
Select Download option.
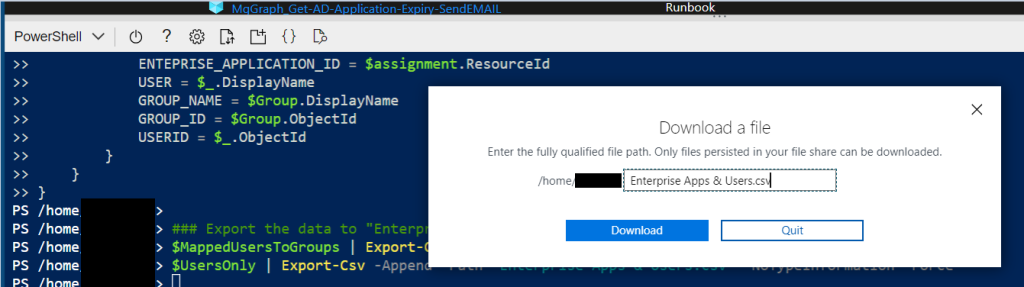
It will then ask you to enter the name of the file created. Then click download.
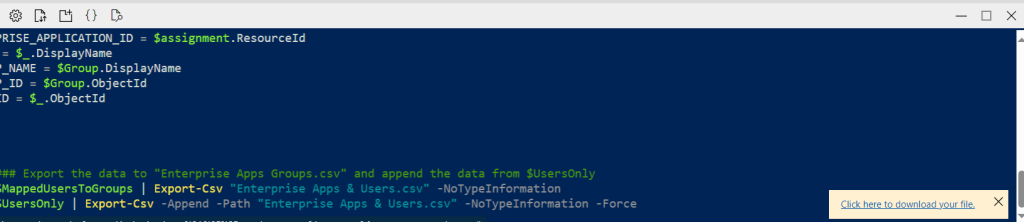
On the bottom right side, click on “Click here to download your file.”
Finally select where you want to download it to, and open the file. Should see the following:

I hope this helps you!
Thanks


No comments! Be the first commenter?